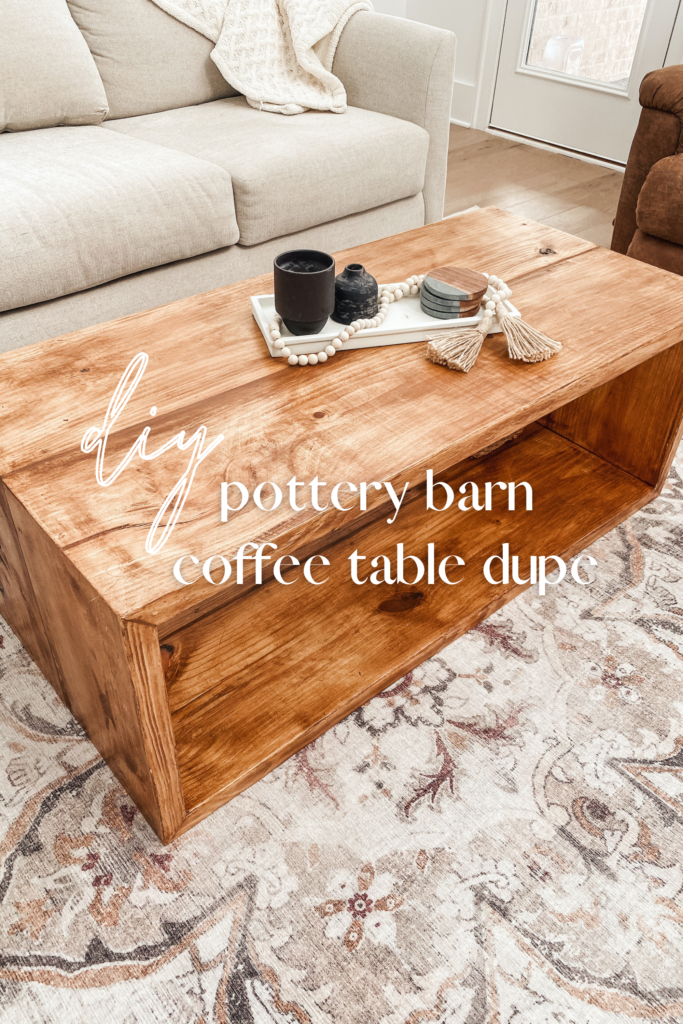
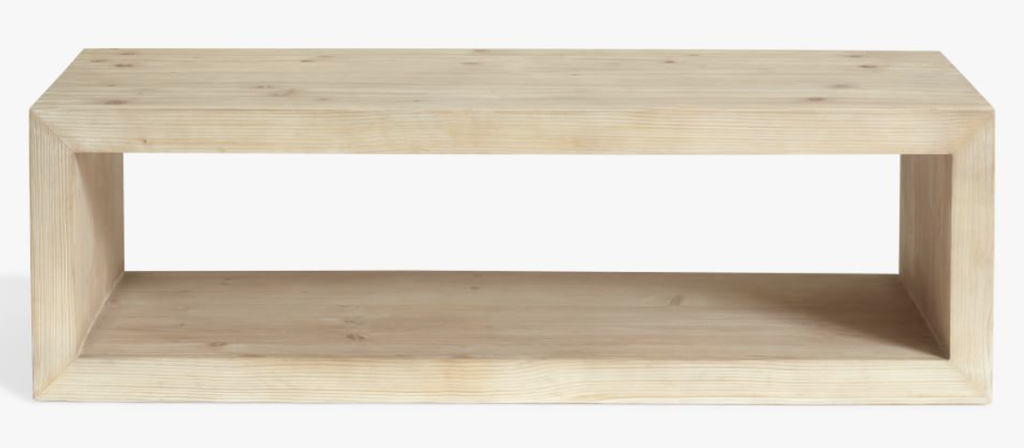
I was on the hunt for a nice coffee table for months and couldn’t find what I wanted for less than $1,000. I always came back to this coffee table from Pottery Barn but couldn’t justify the price tag after tax and shipping. Bradley and I decided to get creative and try to make this coffee table ourselves… it couldn’t be that hard right?!?
WHAT YOU’LL NEED
- 3 – 2×12″x12′ yellow pine boards
- 1 – 1/2″ round dowel
- Drill
- 1/2″ drill bit
- Double-Bevel Sliding Miter Saw
- Sander
- 80 grit and 150 grit sandpaper
- Nail Gun
- 1 1/2″ nails
- Wood Glue
- Wood Filler
- Putty Knife
- Stain of your choice (we chose this one)
- 2″ Stain Brush
- Hammer
- Tape measure
- Swanson tool
- Pencil
WHAT YOU’LL CUT
- 4 – 48″ cuts at a 45 degree angle (you will put 2 together to make the top and bottom)
- 4 – 18″ cuts at a 45 degree angle (you will put 2 together to make the left and right legs)
- 8 – 2″ dowel cuts
Cut one end of the yellow pine board at a 45 degree angle with the miter saw. Measure 48 inches (or however wide you want your table to be) and cut another 45 degree angle. The 2nd cut should be opposite of the first so it creates a trapezoid shape ( \____/ ). Do this 4 times, 2 will be the top of the table and 2 will be the bottom.
Do the same thing for the legs. Use the leftover piece from the previous cuts and measure 18 inches (or however tall you want your table to be) and cut at a 45 degree angle to create a trapezoid shape (the other side will already be cut at a 45 degree angle from the previous cuts). Do this 4 times, 2 for the right side and 2 for the left.
Cut the dowel into 2″ pieces. You will use this as extra support if needed.
WHAT YOU’LL DO
- Use your wood glue to glue together the sides of two 48″ pieces for the top and bottom. Also glue together the sides of two 18″ pieces for both legs. (using 4 total for each)
- Use your nail gun to nail same pieces together alternating directions (creating an X) for extra support.
- Fill the gaps with the wood putty on all sides. Once dry, sand all over, spending extra time where you put the wood putty. Use the 80 grit paper first to smooth the putty and remove any imperfections in the wood, finish with the 150 grit. The table should be completely smooth and flat.
- Use the Swanson tool to make sure your legs are at 90 degrees. Cover in wood glue and line up the legs with the bottom of the table. Nail the sides into the bottom with the nail gun. Do this on both sides. Do the same for the top of the table.
- Sand all over to make sure everything is even. Wipe off with a dry rag. Use the stain brush and stain all over (we didn’t stain the bottom). Let dry. DONE!
FOR EXTRA SUPPORT : Do this during step 1. On all sides, use the dowels to add extra support. Measure the same distance from the left and right and top and bottom on both sides of the 2 top pieces. Using a 1/2″ drill bit, drill 1″ deep holes on both sides (you will have 4 holes total, using 2 dowels). Fill with wood glue and insert dowels. Connect the 2 pieces. Do this on all sides.


If you have any questions please DM me on Instagram! I am going to save all of the details to an Instagram highlight and we also have posted 2 YouTube videos showing the process.
As always, all opinions and text are my own.